Power Functions
Power Functions allow you to extend WeTransform by integrating your own custom logic directly into the transformation process.
What are Power Functions?
Think of them as custom plugins that run on your server but are controlled by WeTransform. They enable you to perform tasks that standard functions can't, like querying your database, calling an external AI, or validating complex business rules.
Typical Use Cases
- Enrich content using AI (OpenAI, Claude)
- Translate text automatically
- Verify VAT numbers or IDs
- Real-time stock synchronization
Key Benefits
- Highly customizable logic
- Asynchronous execution
- Secure HMAC communication
- Works with large datasets
Setting Up a Power Function
Creating and using a Power Function involves a few simple steps in the WeTransform interface.
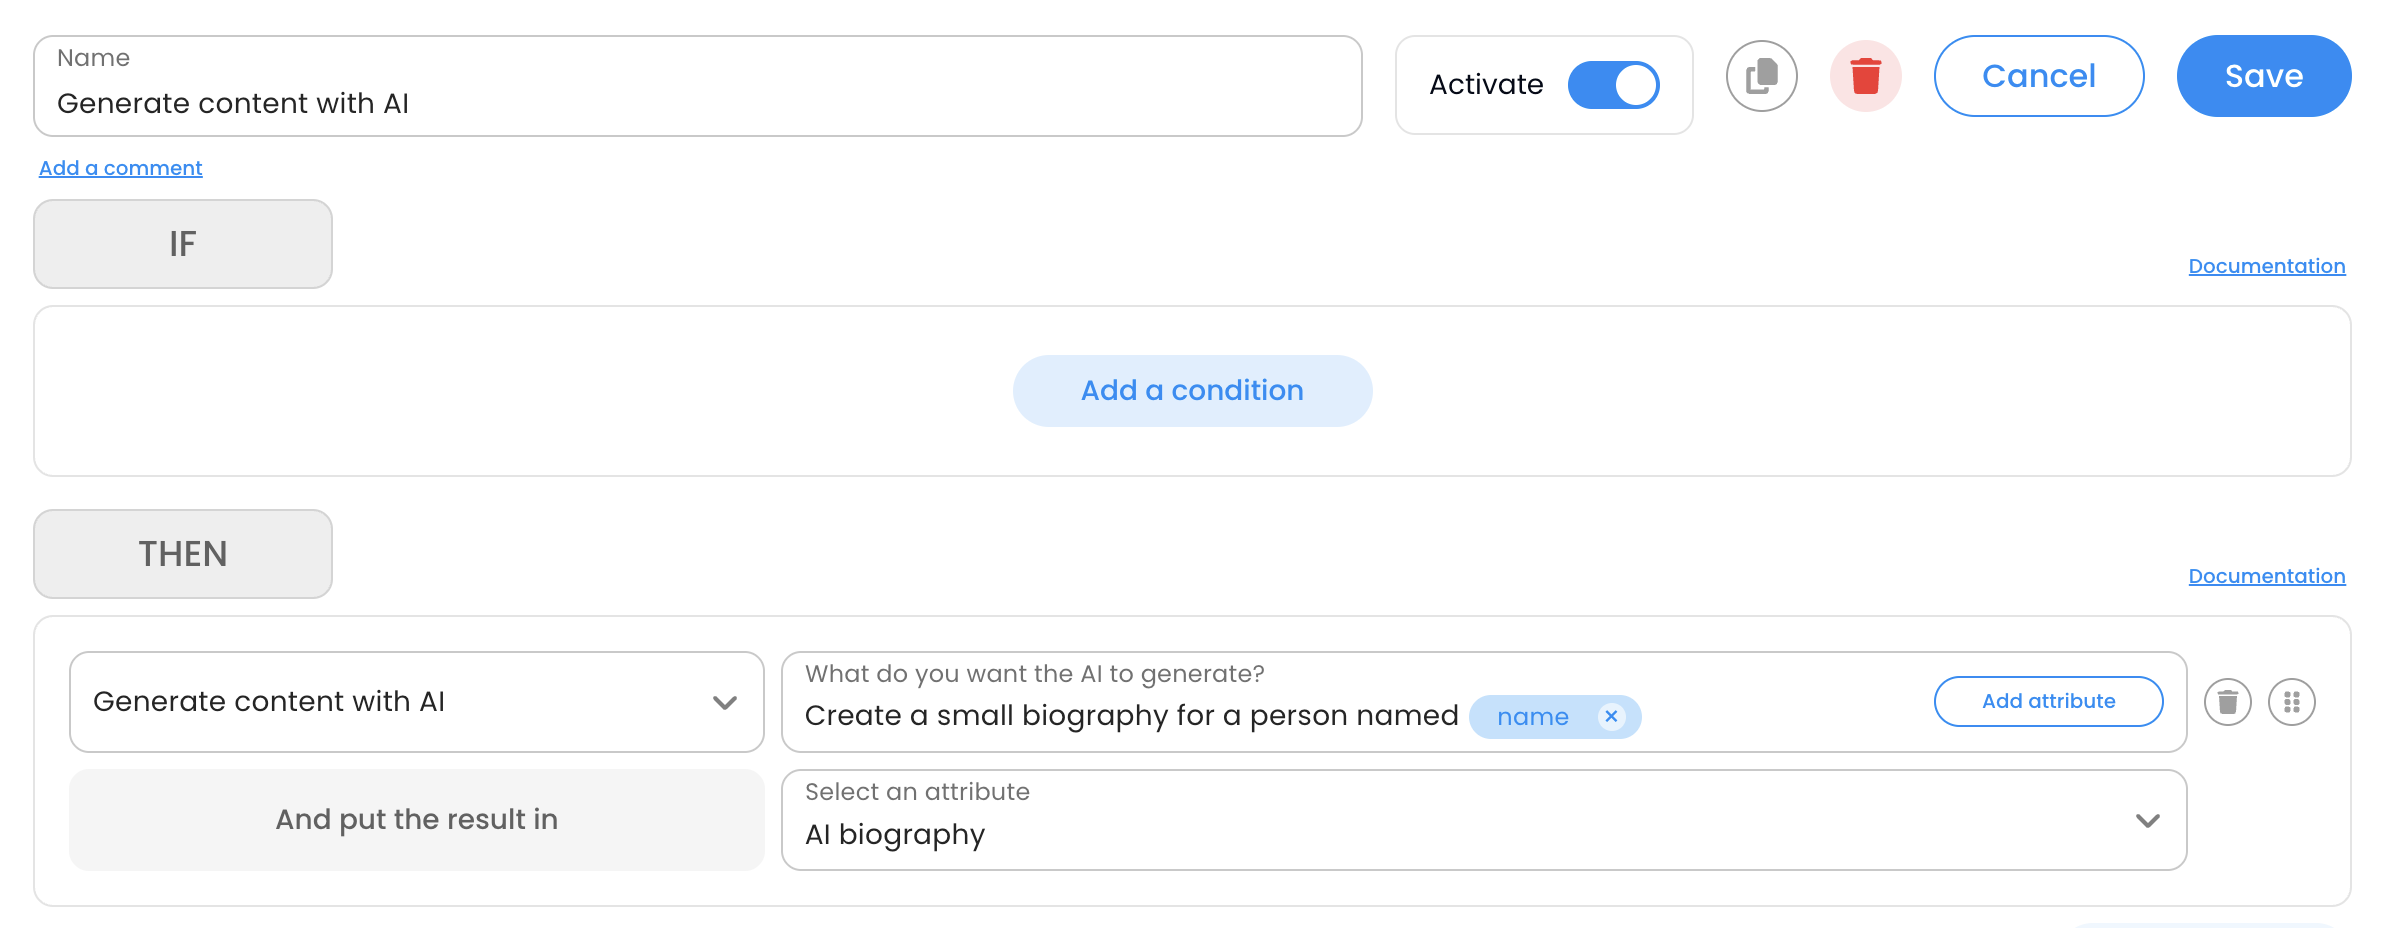
Step 1: Define the Function
Navigate to the Integrations section and create a new Power Function. Give it a unique internal name, a description, and define the arguments it will receive.
- Name: Used in the rule editor (e.g.,
translate_text). - Arguments: Define what data your server needs.

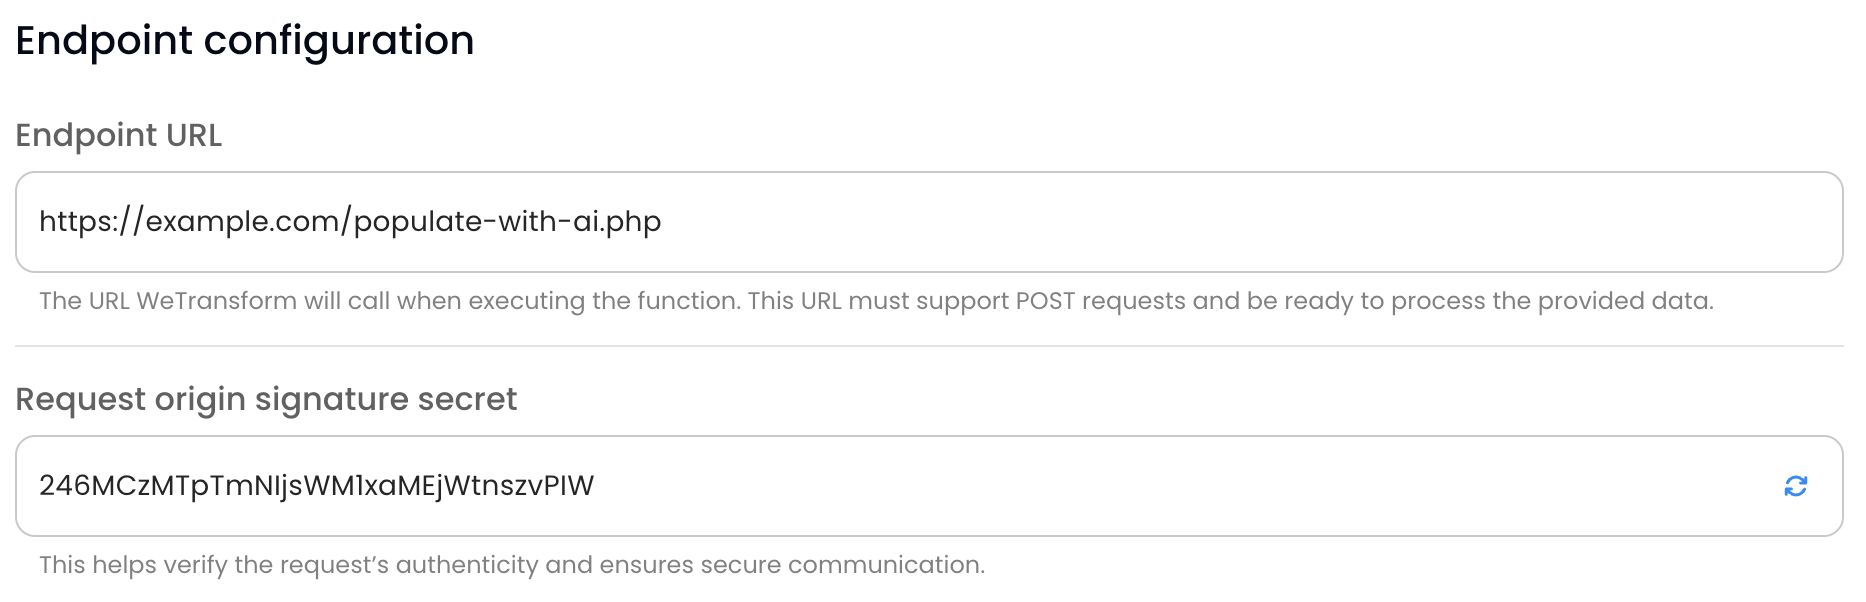
Step 2: Configure Endpoints
Provide the Callback URL where WeTransform will send the trigger. You can also configure a secret key for HMAC verification.
You can set custom timeouts for execution (up to 60 mins) and cache duration.
Step 3: Add to Rules
Once created, your function appears in the Rule Editor under the "Power Function" category. Select it and map your attributes to the function arguments.
Step 4: Monitor Execution
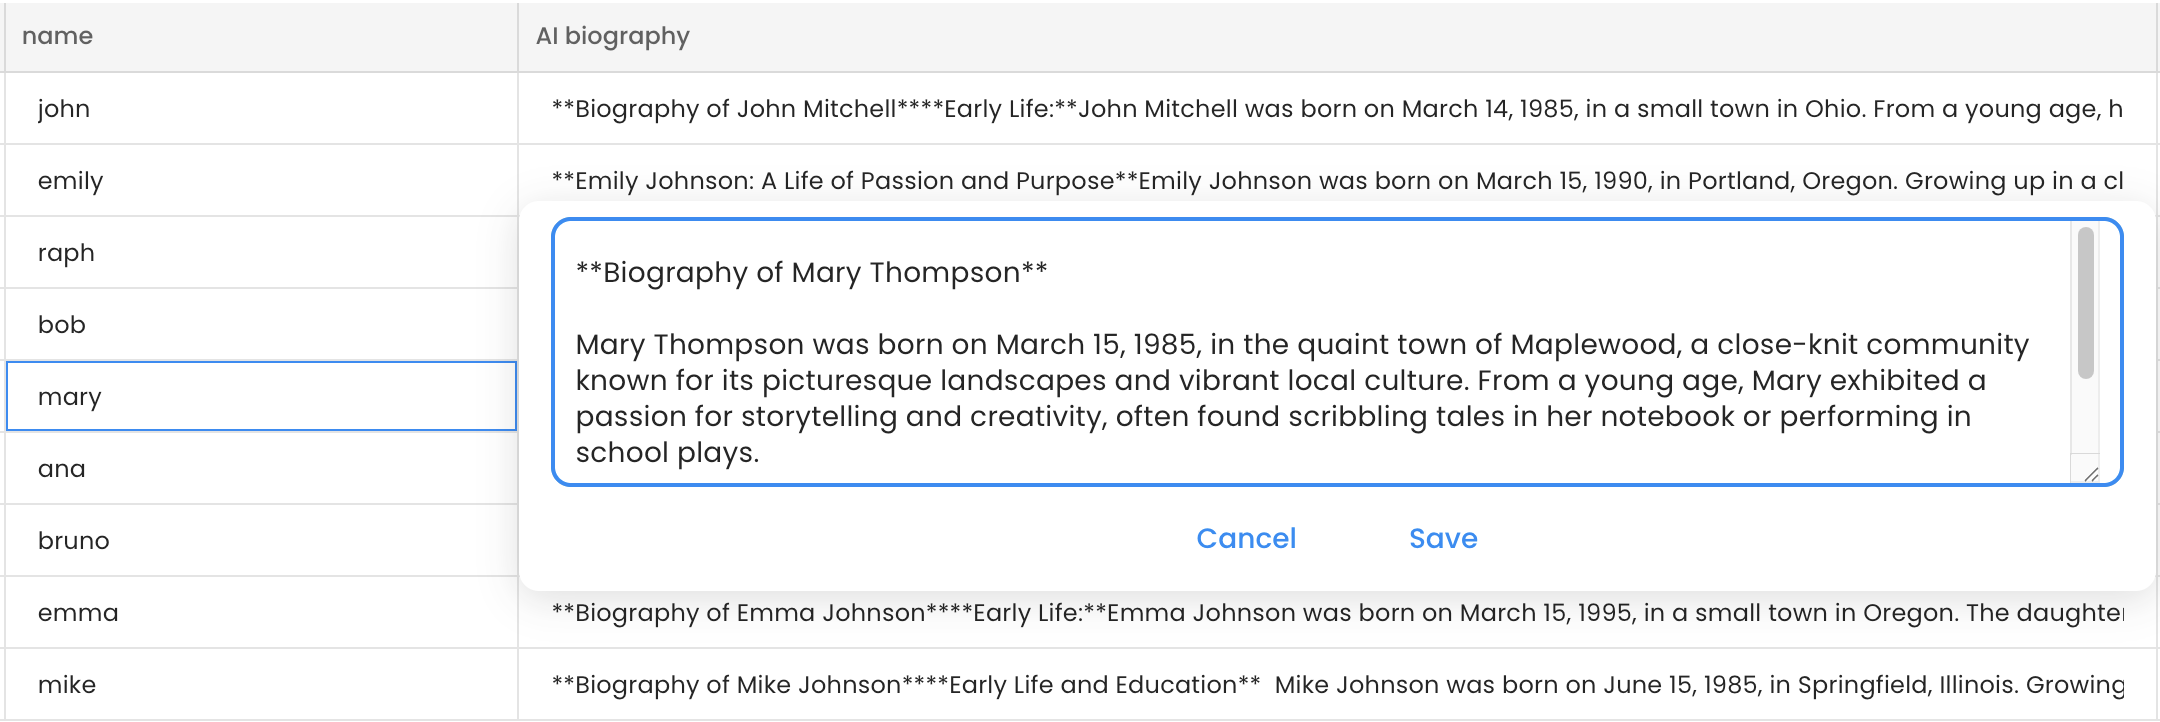
When a transformation runs, the columns affected by Power Functions will show a "pending" status. You can track progress in real-time on the Finalize page.
The Workflow
Power Functions are asynchronous. This means that when a transformation starts, WeTransform sends a notification (a trigger) to your app, and your app works in the background to process the data.
Trigger
WeTransform notifies your server that work is ready.
Process
Your server fetches data and applies your logic.
Populate
Your server sends the results back to WeTransform.
1. The TRIGGER Call
When a user runs a transformation that includes your Power Function, WeTransform sends a POST request to your callback URL.
https://your-app.com/callback
{
  "function_name": "My Custom Function",
  "customer": { "customer_id": "...", "name": "John Doe" },
  "transformation": { "transformation_id": "...", "template_handle": "inventory" },
  "endpoints": {
    "fetch": "https://api.wetransform.com/power-functions/.../fetch",
    "populate": "https://api.wetransform.com/power-functions/.../populate",
    "abort": "https://api.wetransform.com/power-functions/.../abort"
  },
  "pages": 12
}202 Accepted status code. Do not keep the connection open while processing.
2. The FETCH Endpoint
Use the fetch URL provided in the trigger to retrieve the data to transform. It returns up to 1000 rows per page.
https://api.wetransform.com/power-functions/call-id/fetch?page=1
Sample Response
{
  "success": true,
  "payload": {
    "rows": [
      {
        "row": "1",
        "arguments": [
          { "name": "EAN", "value": "1234567890123" }
        ]
      }
    ]
  }
}
3. The POPULATE Endpoint
Once your app has processed the data, send the results back using the populate URL.
https://api.wetransform.com/power-functions/call-id/populate
{
  "outcomes": [
    {
      "row": "1",
      "outcome": "Transform Result"
    }
  ]
}
Security & Verification
To ensure the requests come from WeTransform, you must verify the X-Signature header using HMAC SHA256.
function verify_signature($body, $signature, $secret) {
    $expected = hash_hmac('sha256', $body, $secret);
    return hash_equals($expected, $signature);
}const crypto = require('crypto');
function verifySignature(body, signature, secret) {
const expected = crypto.createHmac('sha256', secret).update(body).digest('hex');
return expected === signature;
}